请注意,本文编写于 1158 天前,最后修改于 460 天前,其中某些信息可能已经过时。
目录
使用Certbot制作ssl证书
使用Certbot制作ssl证书

环境介绍
在centos中使用Certbot制作ssl证书让网站能够使用https加密访问
1、安装certbot
 sudo yum update
 sudo yum install certbot
 certbot --version
相关信息
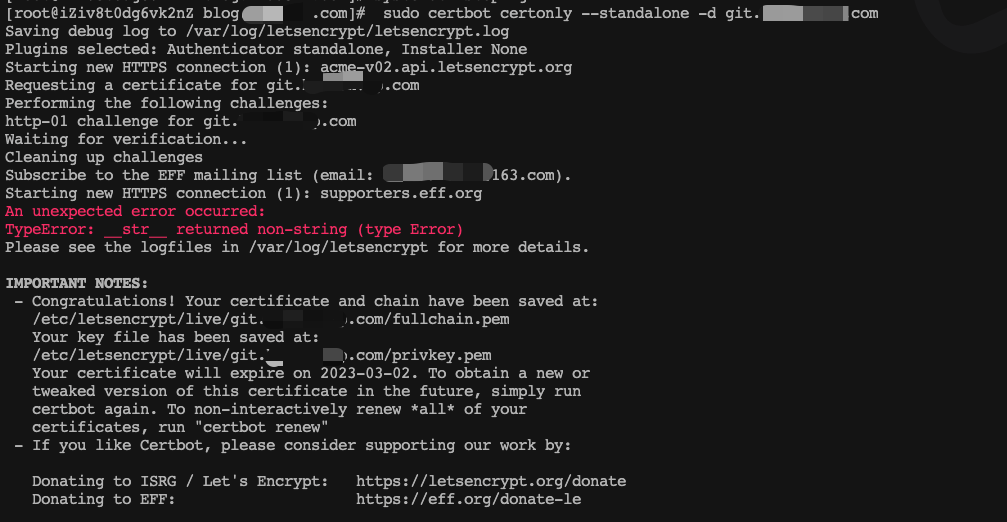
安装成功过后如下图所示

2、获取证书
安装好管理工具之后, 我们需要申请证书下来
2、1 无静态网站目录获取证书
sudo certbot certonly --standalone -d xxx.com
2、2 有静态网站目录获取证书
sudo certbot certonly --webroot -w /srv/www/www.xxx.com -d xxx.com

警告
在申请证书过程中如果服务器有安装类似nginx的程序,需要停止后在申请否则将导致端口占用而申请失败
3、配置证书
申请证书完成之后证书会存在在/etc/letsencrypt/live/目录, 我们查看一下没有问题后打开nginx的配置文件修改证书载入路径:
注
以下示例为nginx下的配置
    server {
        listen       443 ssl http2 ;
        listen       [::]:443 ssl http2;
        server_name  blog.xxxxx.com;

        ssl_certificate "/etc/letsencrypt/live/blog.xxxxx.com/fullchain.pem";
        ssl_certificate_key "/etc/letsencrypt/live/blog.xxxxx.com/privkey.pem";
        ssl_session_cache shared:SSL:1m;
        ssl_session_timeout  10m;
        ssl_ciphers HIGH:!aNULL:!MD5;
        ssl_prefer_server_ciphers on;

        # Load configuration files for the default server block.
        include /etc/nginx/default.d/*.conf;

        location / {
              proxy_pass         http://blog.xxxxxx.com:333333;
              proxy_set_header   Host $host;
              proxy_set_header   X-Forwarded-For $proxy_add_x_forwarded_for;
              proxy_set_header   X-Forwarded-Proto $scheme;
        }

        error_page 404 /404.html;
        location = /404.html {
        }

        error_page 500 502 503 504 /50x.html;
        location = /50x.html {
        }
    }
4、查看证书过期时间
#查看证书过期时间
certbot certificates

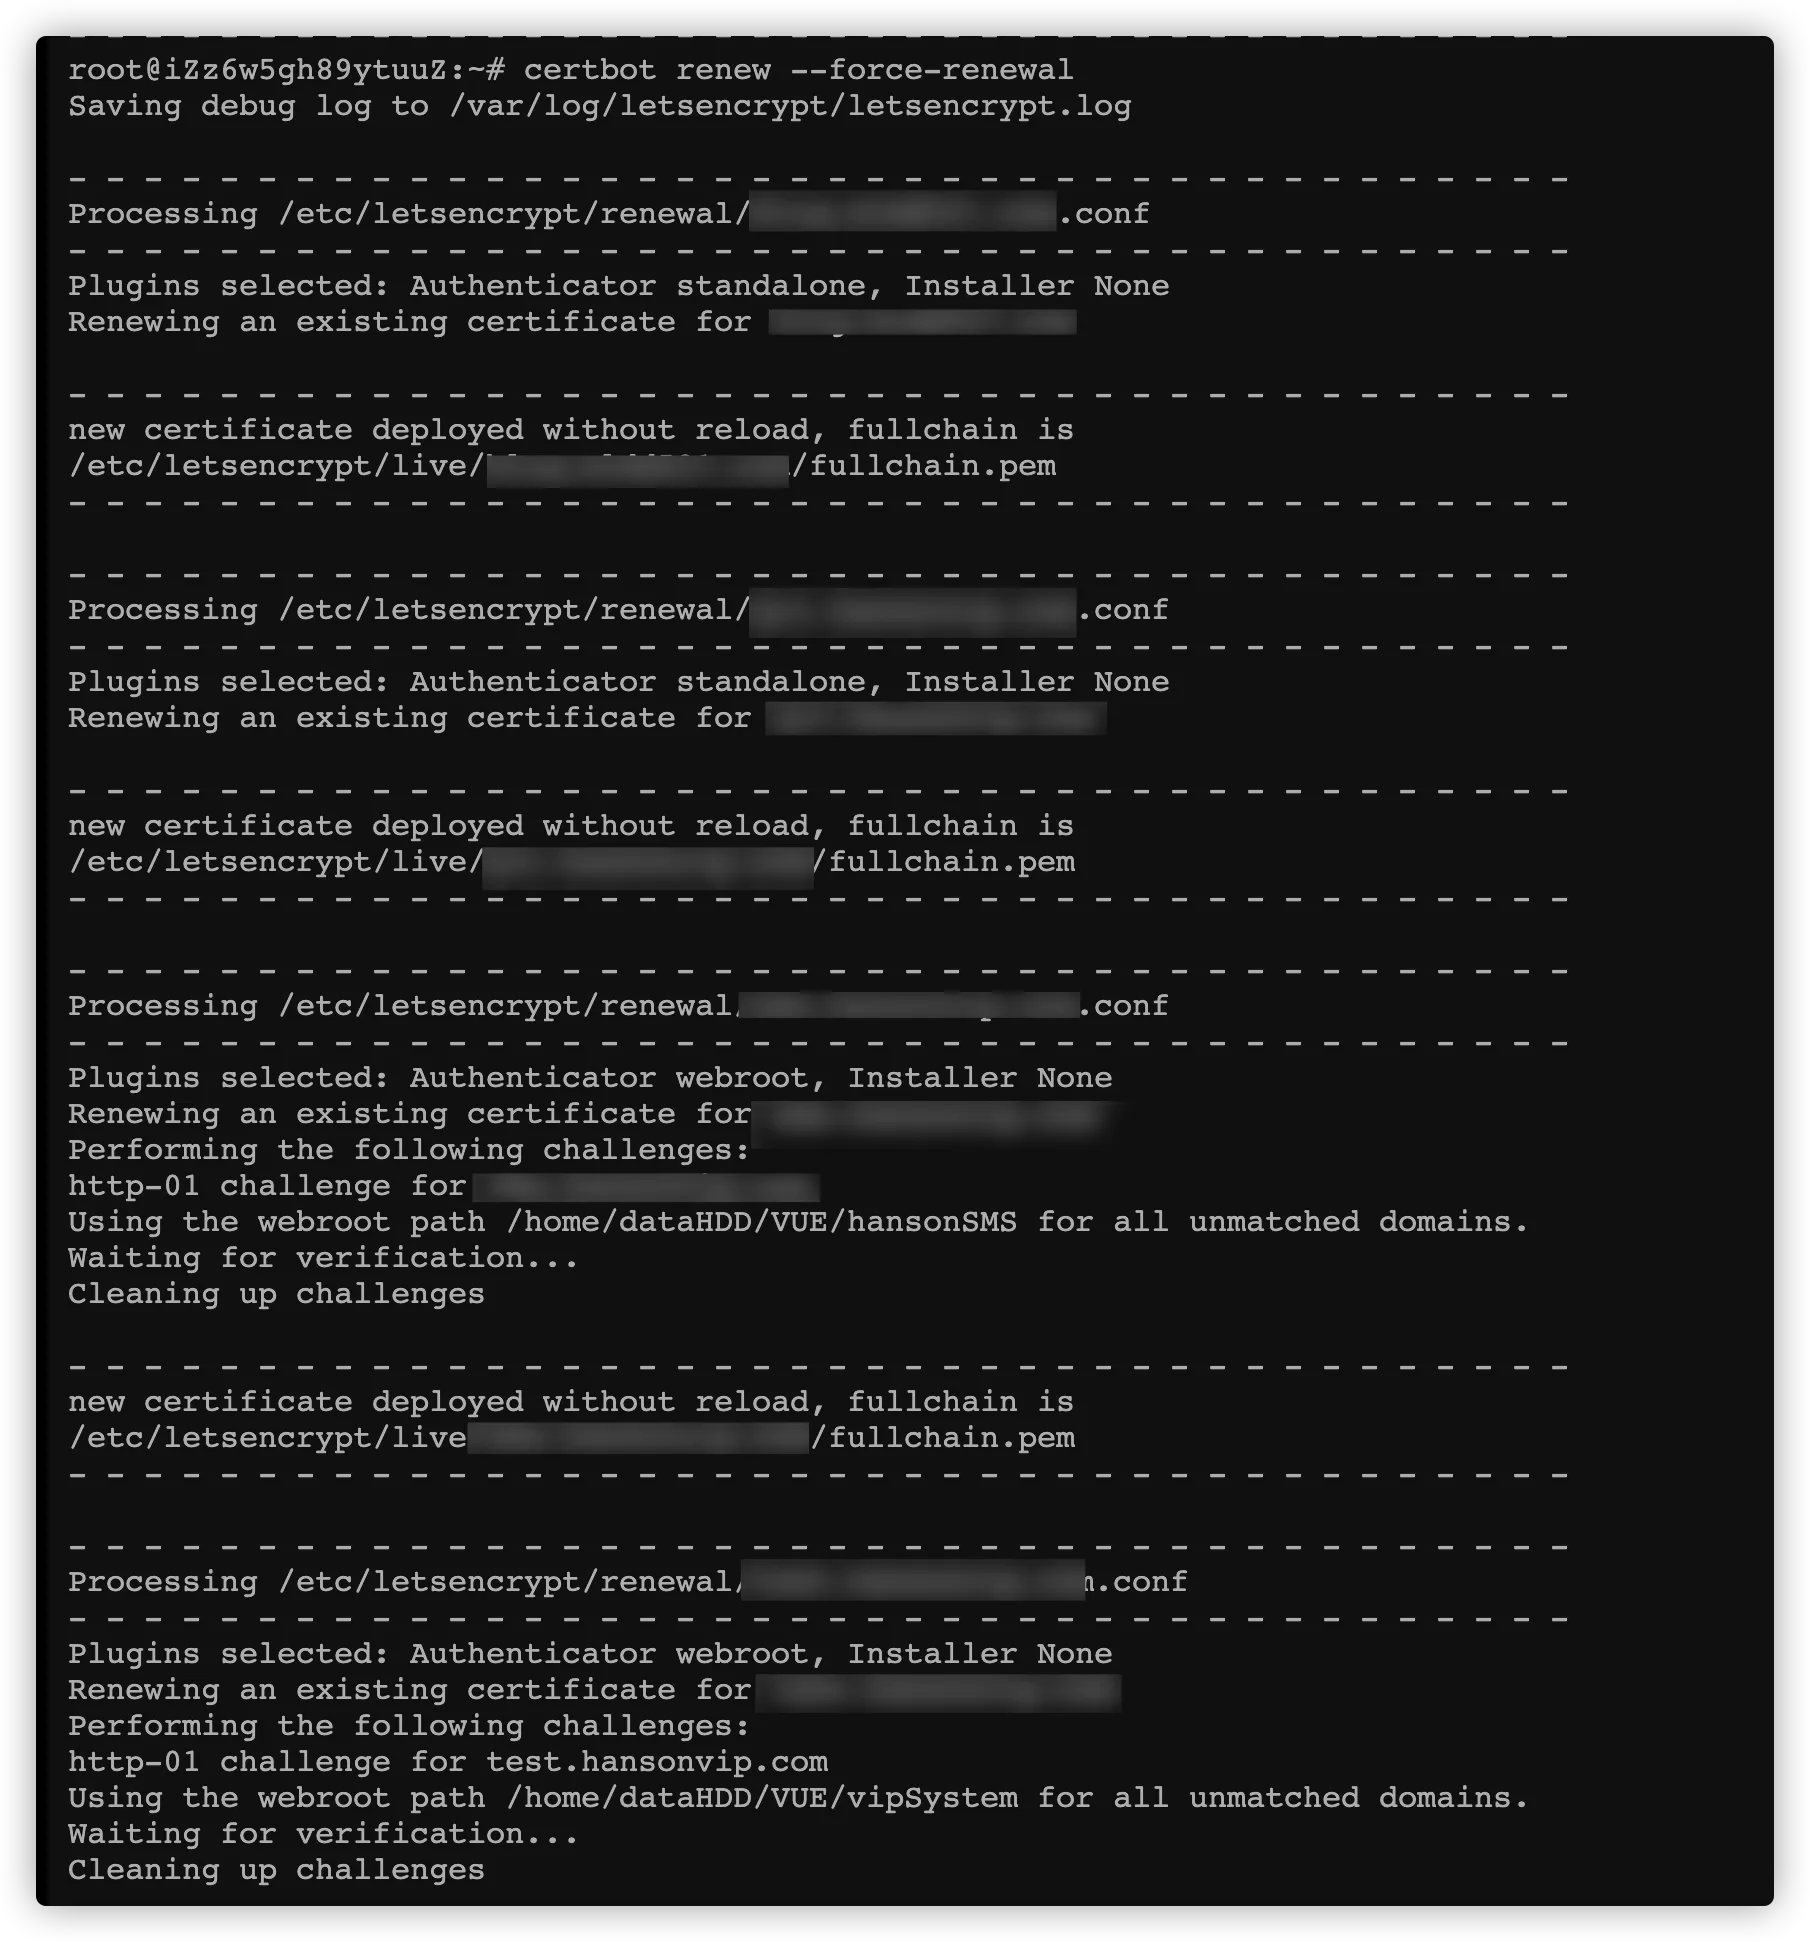
5、手工强制重置ssl证书过期时间
#忽略证书过期时间,直接重置证书时间
certbot renew --force-renewal

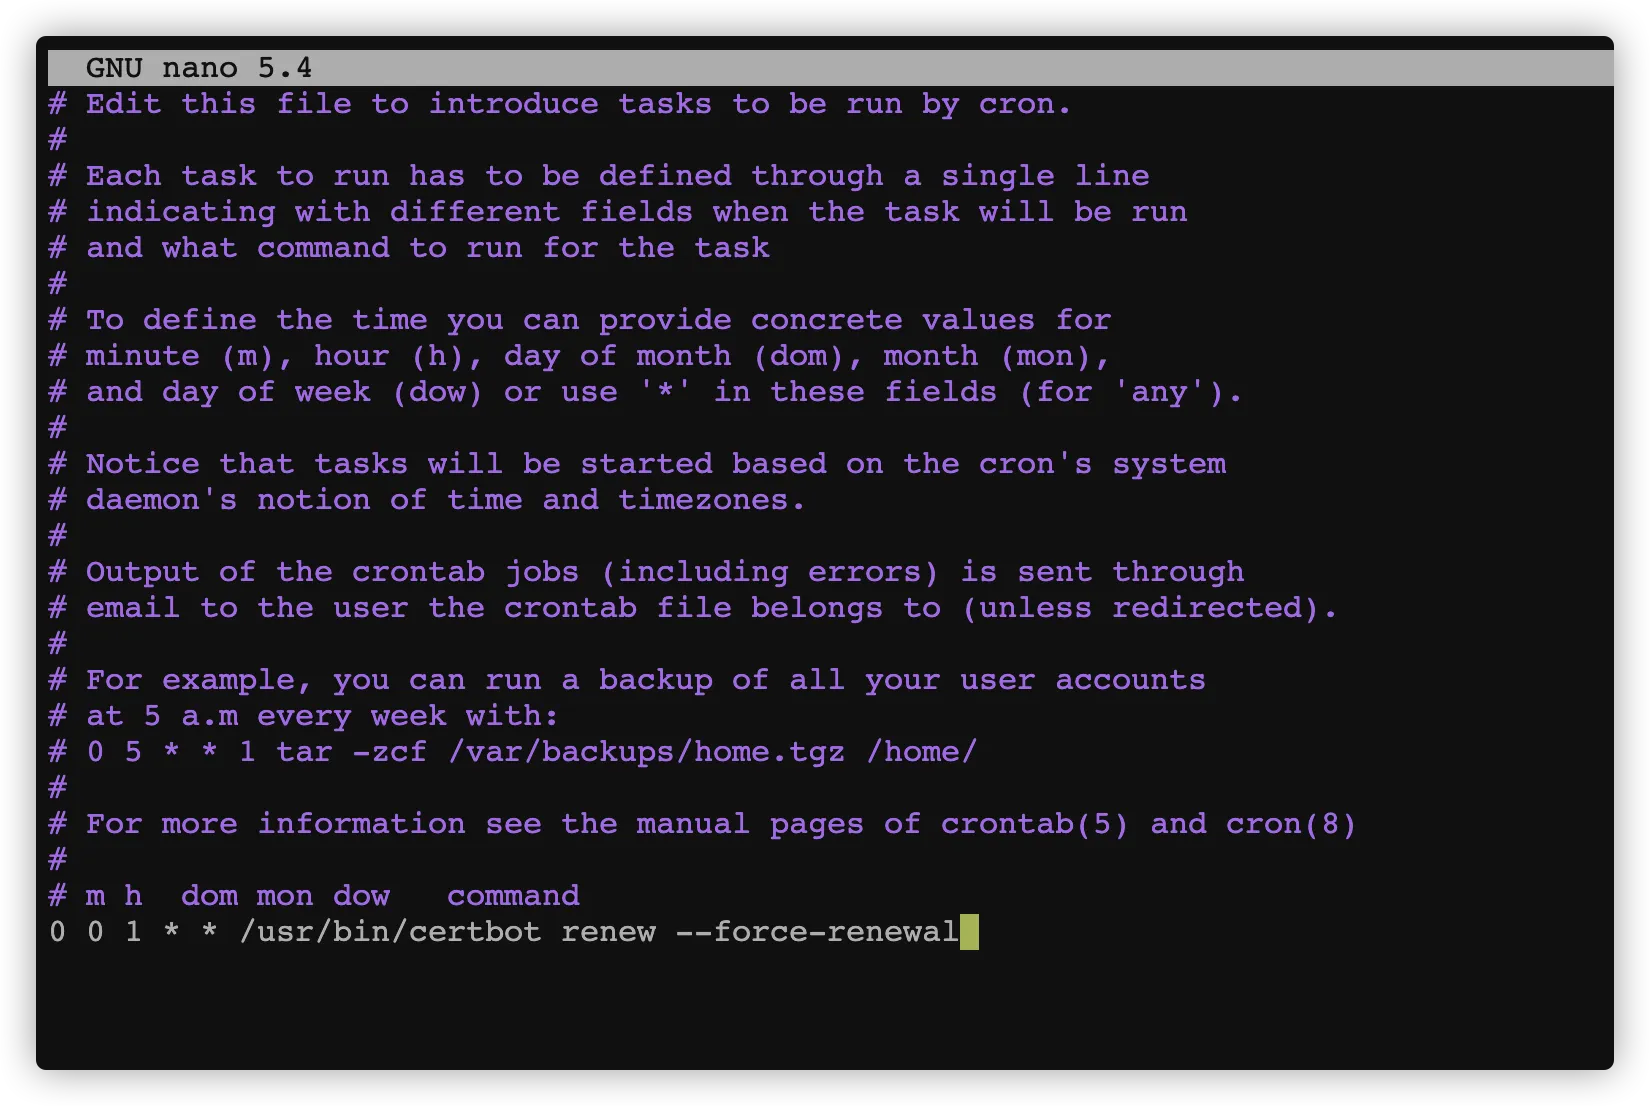
6、自动更新证书
# 进入定时任务编辑
crontab -e
# 加入一下命令
0 0 1 * * /usr/bin/certbot renew --force-renewal

7、删除证书
sudo certbot delete --cert-name example.com

本文作者:SnailBoy
本文链接:
版权声明:本博客所有文章除特别声明外,均采用 BY-NC-SA 许可协议。转载请注明出处!
目录
